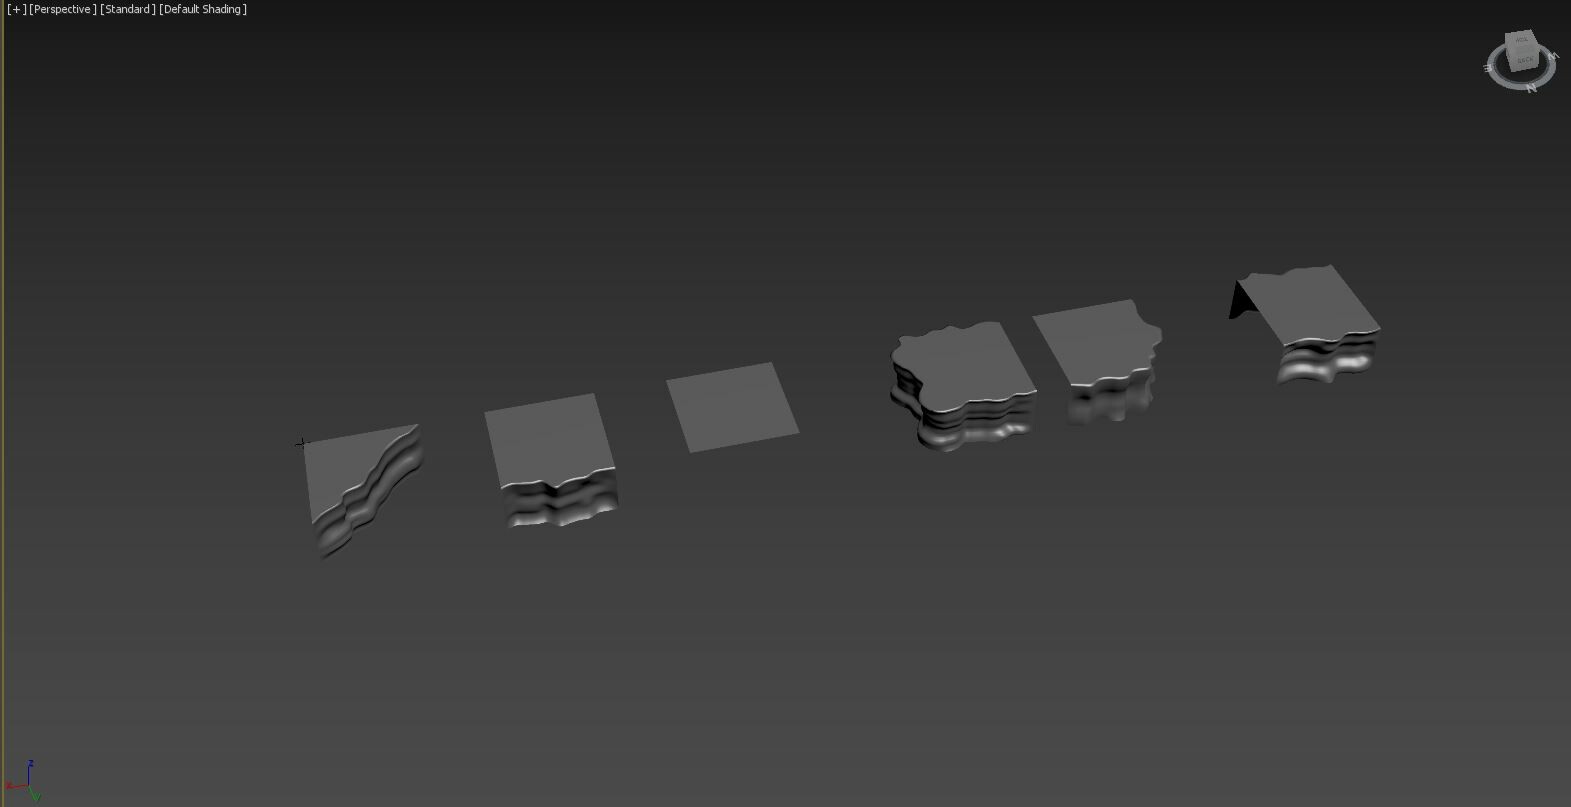
Creating a coastal type level with crazy dead coral stuff as juxtaposition. Using the Unreal 4 top down camera layout. Made a simple tile kit. Each tile fitting within a 1000x1000 unreal unit square on the grid. This is so I can quickly iterate and snap things together. The map denotes different zones and themes. With some reference and inspiration images for the creation of future assets.
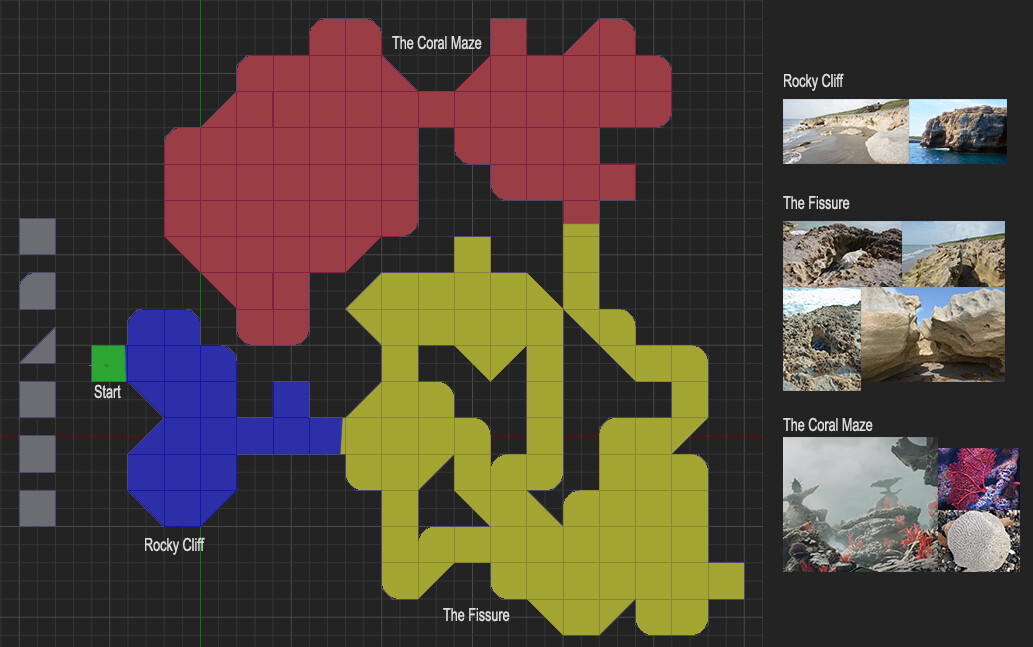
With the simple kit pieces I grayboxed the level.

From this point on I worked on a vertex paint shader that is triplanar worldspace. This was so for most assets I do not need to worry about UVs or seams. This video shows how it paints 4 different materials while projecting triplanar and worldspace.
With the shader template done I can model without worrying about UVs. And it also means I can build a smaller amount of assets while getting lots of reuse out of it. Because depending on the textures used the forms of the models can change based on the height maps.
Tile Kit.
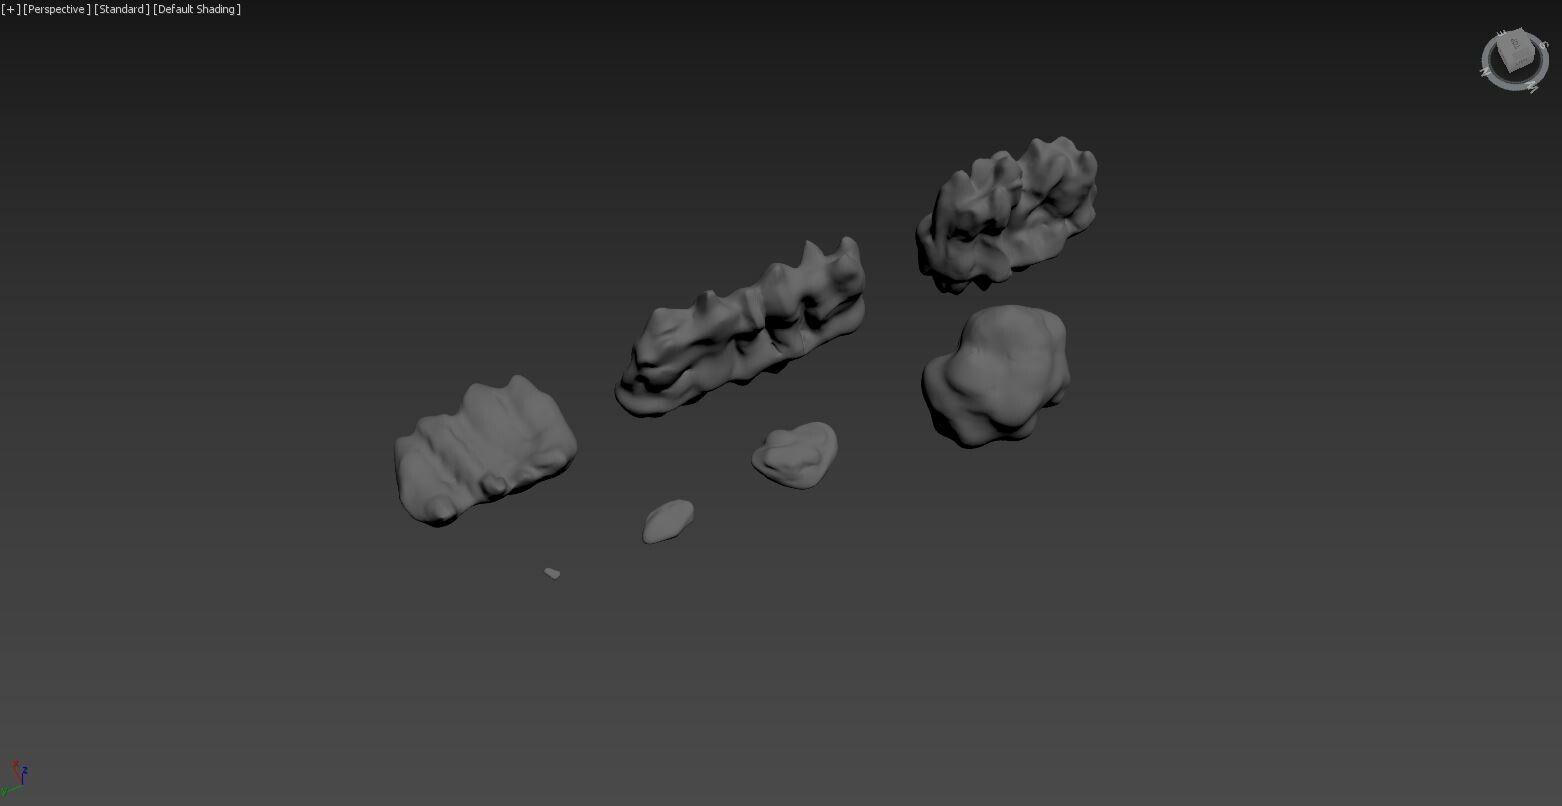
Rock and cliff kit.
Applying the vertex material and starting on figuring out basic worldbuilding.
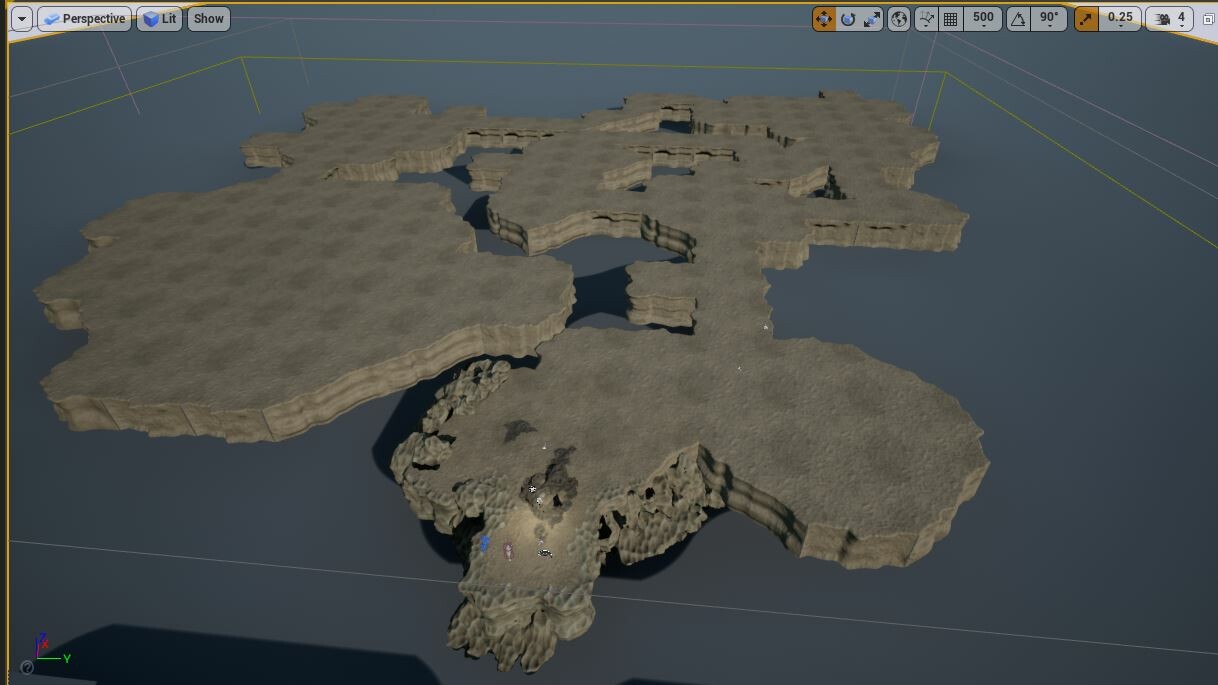
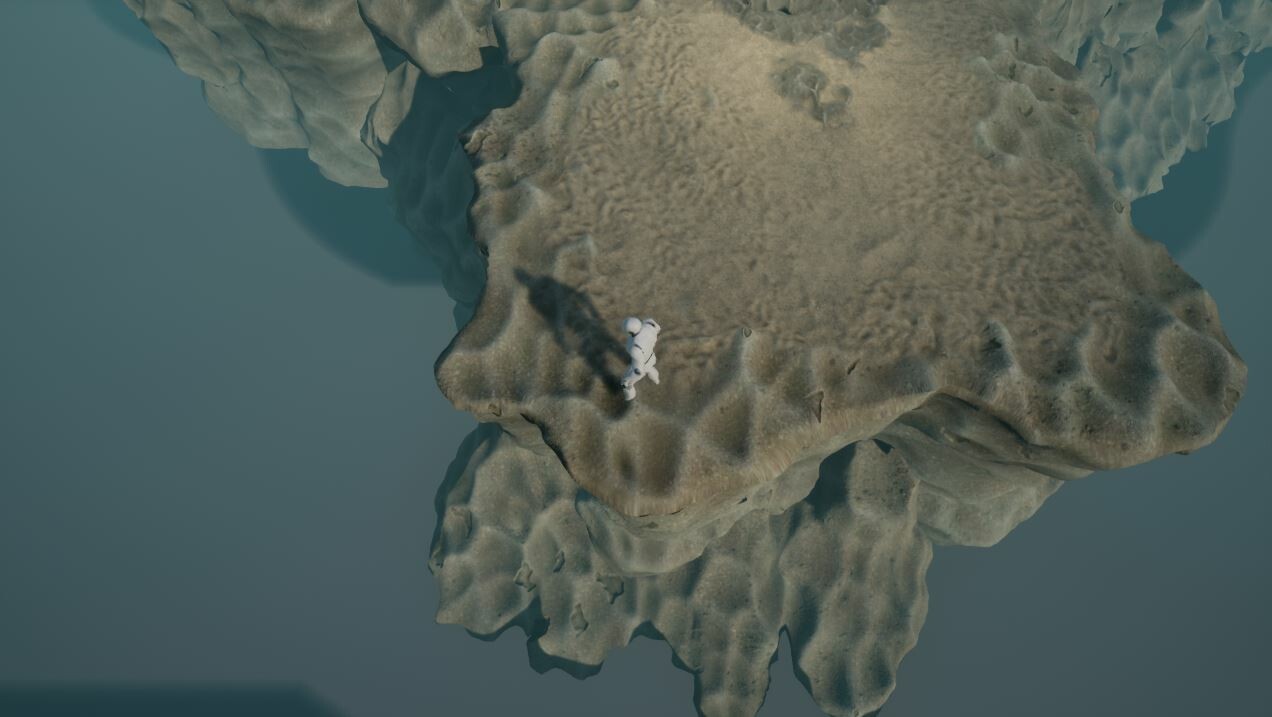
Exploring how edges will be worldbuilt as well as basic vertex painting usage with these particular textures.
